
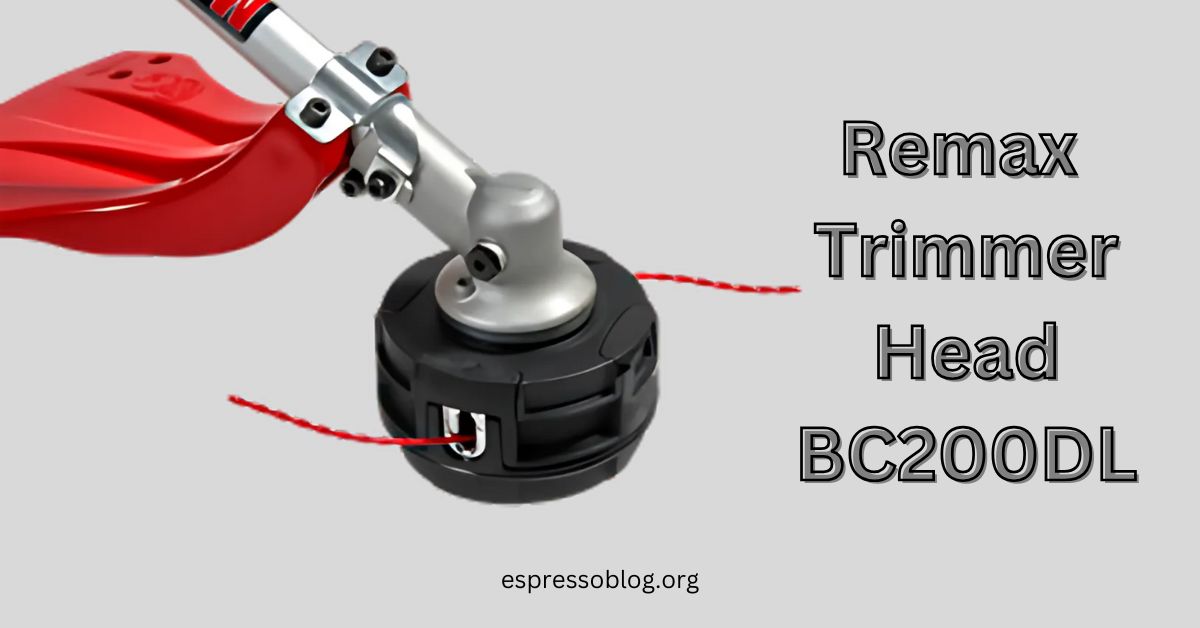
The Remax BC200DL trimmer is an effective tool for keeping gardens, lawns, and other green areas in good condition. For best results, it needs to be maintained on a regular basis, just like any other gardening implement. The Remax Trimmer Head BC200DL removal and replacement is a crucial task. Being able to remove the trimmer head securely and properly is crucial, whether you’re replacing it or troubleshooting a problem. This post will offer a thorough, step-by-step tutorial on removing the trimmer head from the Remax BC200DL, as well as solutions to frequently asked questions and troubleshooting advice.
Why Remove the Trimmer Head?
The cutting mechanism is housed in the trimmer head, which is subject to deterioration over time. There are several reasons to remove it:
- Replacing worn-out components: The trimmer head’s string or blades deteriorate with time.
- Switching to a different type of head: You might need to swap out the head for a heavy-duty or precise trimming head for specialized jobs.
- Maintenance and cleaning: Debris accumulation that impairs performance can be avoided with routine cleaning of the head and surrounding area.
- Repairing or troubleshooting issues: If your trimmer isn’t working properly, the trimmer head may be the issue.
Tools and Safety Precautions
Before starting, gather the following tools and adhere to safety precautions:
Tools Required
- Locking pin or screwdriver: To stabilize the shaft.
- Adjustable wrench: For loosening and tightening components.
- Work gloves: To protect your hands from sharp edges.
Safety Measures
- Turn off the trimmer: Make sure the trimmer is unplugged and turned off. If the model is gas-powered, unplug the spark plug.
- Wear protective gear: Goggles, gloves, and supportive shoes can all help reduce the risk of injury.
- Stabilize the trimmer: To stop the trimmer from moving accidentally, place it on a level surface.
ALSO READ: The Dusk Eagle DE916 — A Night Vision Milestone
Step-by-Step Guide to Removing the Trimmer Head
Step 1: Stabilize the Shaft
Find the hole next to the trimmer head connection on the gear head. To secure the shaft and stop it from turning while being removed, insert a screwdriver or locking pin into this hole.
Step 2: Identify the Thread Direction
The majority of trimmer heads have reverse (left-hand) threading, including the Remax BC200DL’s. This implies that in order to loosen it, you will crank the head clockwise.
Step 3: Remove the Trimmer Head
To remove the trimmer head from the shaft, take a firm hold of it and turn it clockwise. Use an adjustable wrench to gain more leverage if it’s tight. To stabilize the shaft while rotating the head, keep the locking pin in place.
Step 4: Inspect and Clean
Check for wear and tear after removing the head. Clear the mounting area of any grass, dirt, or other debris that might get in the way of installing a new head.
Step 5: Install a New Trimmer Head (Optional)
When changing the trimmer head, make sure the new head is hand-tight by aligning it with the shaft and threading it counterclockwise. Securely tighten the head and steady the shaft with the locking pin.
Troubleshooting Common Issues
1. The Head Won’t Budge
If the trimmer head is stuck, try the following:
- Use penetrating oil to remove corrosion and dirt.
- Use a wrench for additional leverage.
- Double-check that you’re turning the head in the correct direction.
2. Locking Pin Slips Out
A screwdriver or locking pin should be fully put into the hole. It might be necessary to turn the shaft a little bit before the pin clicks into position.
3. The Shaft Rotates During Removal
To improve the shaft’s stability, move the locking pin. As an alternative, ask someone else to hold the shaft steady.
Maintenance Tips for Your Remax BC200DL
Your trimmer’s lifespan and optimal performance can be increased with routine maintenance. Here are some pointers:
- Clean after each use: Clear the area around the trimmer head and shaft of any debris.
- Inspect regularly: Look for wear or damage, particularly on the blades or cutting line.
- Lubricate moving parts: To lessen friction, use a lubricant that has been approved by the manufacturer.
- Store properly: To avoid rust and corrosion, store your trimmer in a dry, protected location.
Conclusion About Remax Trimmer Head BC200DL
The Remax Trimmer Head BC200DL may be easily removed with the correct equipment and skills. Maintaining your equipment’s smooth and effective operation requires routine maintenance and prompt trimmer head replacement. Your trimmer will continue to be a dependable partner in your gardening and landscaping endeavors if you adhere to the instructions provided in this article.
FAQs
How often should I replace the trimmer head on my Remax BC200DL?
Wear and usage determine how often it occurs. Replace it as needed when performance deteriorates or, on average, once a year.
Can I use universal trimmer heads on the Remax BC200DL?
Yes, the majority of universal trimmer heads work with the BC200DL; however, to make sure they fit properly, consult the manufacturer’s instructions.
What type of trimmer line should I use?
According to the user manual, the Remax BC200DL normally employs nylon lines that have a diameter of 0.080 to 0.095 inches.
Why is my trimmer head not cutting effectively?
Cutting performance can be decreased by debris accumulation, worn-out or dull cutting lines, or improper line installation. Examine and resolve these problems.
Can I remove the trimmer head without tools?
It’s feasible but not encouraged. Using a locking pin and wrench ensures a safer and more efficient approach.