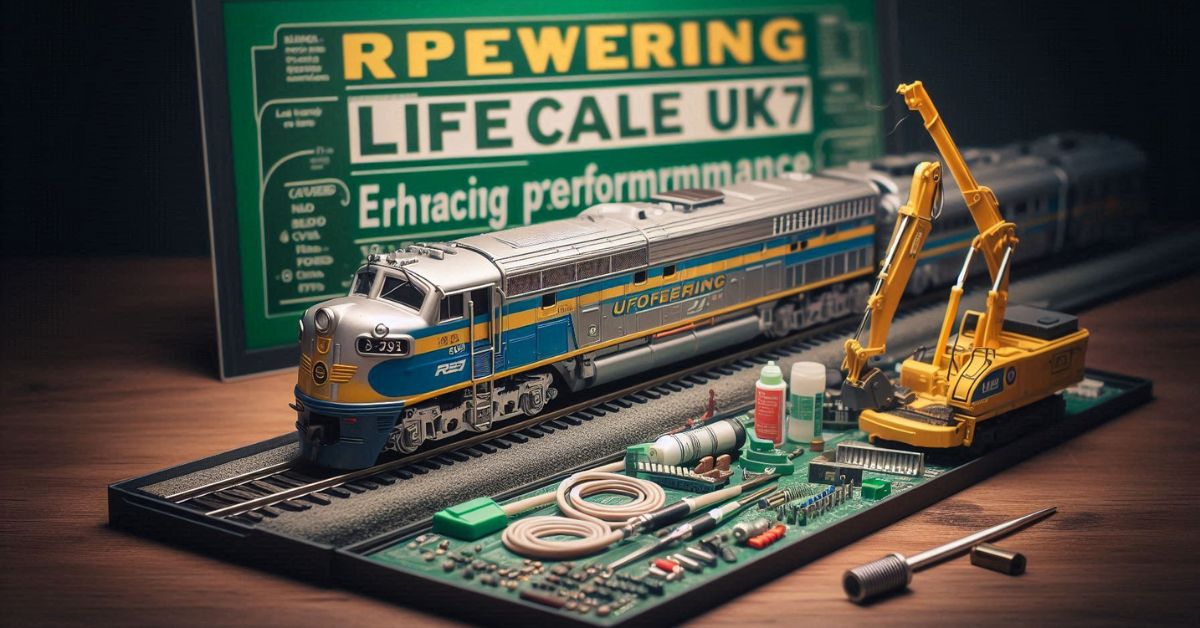
The Repowering an N Scale Lifelike E7 is a popular model among model railroad enthusiasts. However, older models often suffer from performance issues, such as weak motors, poor electrical pickup, and lack of smooth operation. Repowering—replacing or upgrading the motor and drivetrain—can significantly improve the locomotive’s performance, making it run more efficiently and realistically. This article explores the process of repowering an N Scale Lifelike E7, including reasons for upgrading, necessary components, and step-by-step instructions.
Why Repower an N Scale Lifelike E7?
Lifelike’s N Scale E7 models are known for their detailed bodies and prototypical appearance, but older versions may have outdated mechanisms. Here’s why repowering is a great option:
- Improved Performance: A modern motor provides smoother and quieter operation.
- Better Electrical Pickup: Enhanced wiring and contacts ensure consistent power delivery.
- Increased Reliability: Modern components reduce maintenance and extend lifespan.
- DCC Compatibility: Upgrading allows for easier digital command control (DCC) installation.
- Enhanced Realism: Smoother starts, stops, and speed control improve operational realism.
Necessary Components for Repowering
Before starting, gather the required tools and components:
Tools:
- Precision screwdrivers
- Soldering iron and solder
- Small files or a Dremel tool
- Tweezers
- Multimeter (for testing electrical continuity)
- Lubricant (plastic-safe grease and oil)
- Magnifying glass (for inspecting small components)
- Cutting pliers (for trimming wires and excess material)
Components:
- Replacement Motor: A quality can motor (such as a Mashima or Kato motor) with flywheels.
- Drive Shafts and Couplings: Suitable components to transfer power to the trucks.
- Brass or Phosphor Bronze Pickup Wipers: For improved electrical pickup.
- DCC Decoder (Optional): If adding digital control.
- LED Headlights: To replace outdated incandescent bulbs.
- Capacitors: To reduce electrical noise and improve power stability.
- Wiring Harness: For cleaner and more organized wiring.
Step-by-Step Guide to Repowering
Step 1: Disassemble the Locomotive
- Carefully remove the locomotive shell by gently prying it off the chassis.
- Note the wiring and motor connections before removal.
- Extract the existing motor, driveshafts, and any outdated electrical components.
- Inspect the condition of the gears and wheels for any signs of wear.
Step 2: Preparing the Chassis
- If necessary, modify the motor mount using a file or Dremel to fit the new motor.
- Ensure the chassis remains balanced to avoid uneven weight distribution.
- Clean any debris or oxidation from the metal surfaces to improve conductivity.
Step 3: Installing the New Motor
- Secure the new motor in place using foam tape or a custom bracket.
- Align the motor shaft with the existing drivetrain or new drive components.
- Test the motor for smooth operation before finalizing the installation.
- Ensure the flywheels are properly aligned and free of obstructions.
Step 4: Upgrading Electrical Pickup
- Install brass or phosphor bronze wipers on the trucks to improve power transfer.
- Solder new wiring from the pickup wipers to the motor, ensuring good connections.
- Test for electrical continuity with a multimeter before proceeding.
- Consider adding a capacitor to improve power retention over dirty track sections.
Step 5: Adding a DCC Decoder (Optional)
- Choose a decoder compatible with the motor’s current draw.
- Solder the decoder wires to the motor, pickups, and lighting.
- Program and test the decoder before reassembling the locomotive.
- Secure all wires neatly using a wiring harness or small zip ties.
Step 6: Reassembling and Testing
- Carefully reattach the shell, ensuring wires are not pinched.
- Place the locomotive on a test track and run it at various speeds.
- Fine-tune motor alignment and lubrication for optimal performance.
- Check for any excessive noise or friction in the drivetrain.
Tips for a Successful Repower
- Use a High-Quality Motor: Choose a motor with low current draw and smooth operation.
- Check Clearances: Ensure new components fit properly without interference.
- Test Before Final Assembly: Running tests at each stage avoids troubleshooting later.
- Lubricate Moving Parts: Apply light, plastic-safe grease to gears and bearings.
- Document Wire Connections: Taking pictures before disassembly can help during reassembly.
- Use a Speed Matching Tool: If using multiple locomotives, match speeds for smoother operation.
- Perform Regular Maintenance: Clean and inspect the locomotive periodically to ensure continued performance.
Conclusion Repowering an N Scale Lifelike E7
Repowering an N Scale Lifelike E7 is a rewarding project that enhances the locomotive’s performance, reliability, and realism. By carefully selecting components and following precise installation steps, model railroaders can transform an aging locomotive into a smooth-running and efficient model. Whether for analog or DCC operation, a repowered E7 brings new life to a classic N scale locomotive. Investing time and effort into this process ensures an enjoyable and long-lasting model railroading experience.
Also Read: A Guide to Ram Flywheel 2518 Pilot Bearing Replacement

